

Dyrezz Studios Logo
Details about the Dyrezz Studios Logo.

Cycle

This motorized vehicle was designed for Mythos of Solaria. It is a piece of magitech, where it's powered by magic as opposed to the conventional chemical reactions inside of a real motorcycle. The motorcycle is the owned by one of the main protagonists in the series, Nicolas Tasserell, the Undead Prince. The bike's internal magic system makes it operate, however, the machine requires the magical signature that Nicolas is capable of, making him the sole rider of the vehicle.
I used two-point perspective to position and draw the motorcycle to give the image more depth than other drawings. It started as a sketch in a sketchbook, before I made a carbon copy of the image to transfer the sketch onto a thicker board. I decided to use copic markers to color the image, and to challenge myself by only use one hue of color; blue. The entire bike is colored and shaded with blue ink, with the exception for the front headlight, which, to draw attention to the front, was coloured yellow and blue.
I ended up framing this image, because of the quality and the outcome of the design. Unlike sketches, the copic markers makes this image look finished. The final design ended on a 14.5" x 13.5" artboard
A Journey Begins
This is my first 3D model since I've graduated from SAIT. I decided that I wanted to work on my 3D modeling on some recognizable images. The first object I decided to work on is Nintendo and Gamefreak's "Pokeball".
I chose to do three of the pokeballs because of how most Pokemon titles gives the player the option to choose one of three starters, generally between a fire-, water-, or grass- type. I was debating of making the shell of the pokeball different colors to identify this type difference, though i ultimately decided to go with the original designs.
When rendering the image, I used the Mental Ray option. The colors were basic, with adjustments to add shine and gloss from the shell, and tabletop. When I finished positioning the pokeballs, I thought that the image looked empty. I created a surface below, and added dimensions to create a table-top look to the image. I added a refraction to the table so the pokeballs and be reflected off the polished wood.

Laverna

Laverna is an original character I designed as part of the Legend of Zelda series. She goes by the male name of Laverne and portrays a hunter in the wild. She usually wears a hood to hide her long hair, and talks with a deeper voice that she forces to sound more masculine.
I wanted to attempt a different way to color my images, and have not tried watercolors since high school. I bought a special gel that goes onto paper to prevent the spread of watercolor into unwanted spaces. This was how I got Laverna's hair coloured without bleeding her blonde.
She was inspired by many forms of Zelda throughout the series. Her hair was tied back with similar ribbons to Skyward Sword, and her hair length is inspired by Twilight Princess. I used the colors for the Zora Tunic from Ocarina of Time. Her role was to take on weaponry that required aiming and accuracy, such as using the bow, or hookshot. The idea that Link has dozens of items in his pocket seemed strange, so I was going with the idea of dividing the weapons out to other cast members.
Though Laverna originates as a Zelda Original Character, she has evolved to be a unique character in her own way. She has a lengthy backstory on how she had to steal food as a child, and took on a job as a hunter to make her living, disguising herself as a man so she could earn the same amount as other male hunters.
She was drawn on a 8" x 11" paper, and I used a technique called carbon copying to transfer her to a 14" x 11" watercolor page.
Telma’s Bar
This is a low polygon portrait of Telma's Bar from Twilight Princess. The way I did this image is using a technique I learned at SAIT called Low Poly Portrait. In Adobe Illustrator, I draw a shape, usually a triangle. over a surface in order to create an object, then using the eyedropper tool, pick a color from below the object to make the object have a color; though doing this removes the outline stroke of the object. I simply re-added the lines.
I used this image for an app I developed for a group of friends. The app was for an online game I play with my friends, to convert the online game to a computer game. This was the main hub, where most of the online game was taking place, and I used this location to be where players made their character. It was the backdrop behind the text.
While the image looks like it would be easy to create, this was a highly detailed location. It took two days to complete every brick. It was fun to design regardless.

Intergalactic
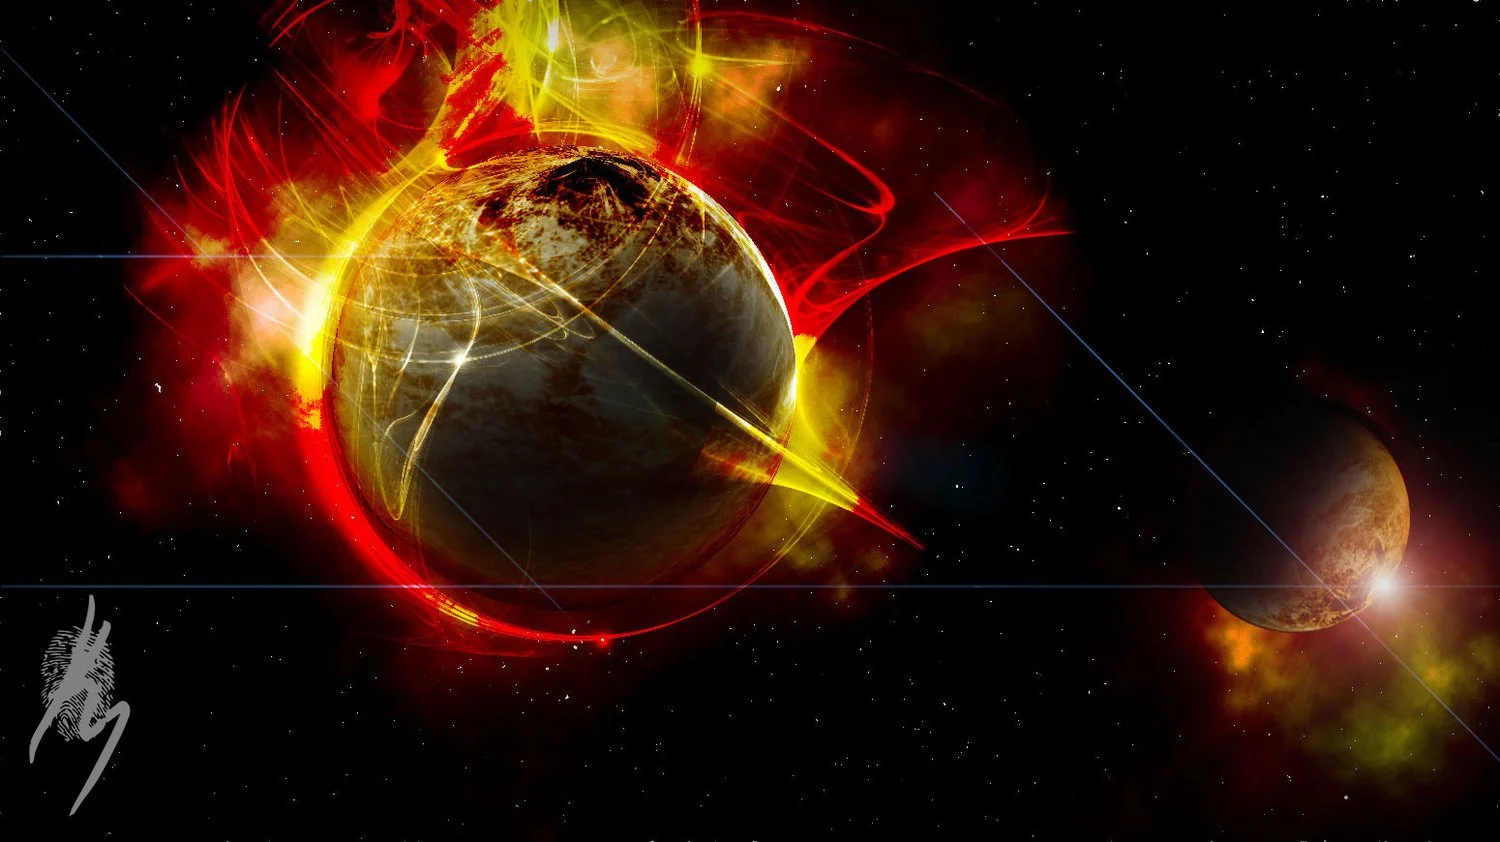
This piece was done exclusively in photoshop. I did not draw anything direct on the project, but instead used tools and techniques to make this image.
I had to do research on how to make a planet in photoshop, using the spherize adjustment on a picture of stone. Another piece I had to research was how to make space look good. I learned that there were multiple ways, but I went with the creation of black-and-white noise to generate the stars. I then used a brush tool to create the gases that surround the planets.
A well placed lens flare helped create the illusion of a star, or the sun on the other side of the second planet. I used this image as the background on my computer, designed for a 1080p 27" monitor. This particular image, is a downsized version of that image.